This document is made in reference to this README from D3 Engineering
Setting up the board
To connect the FPD-Link-III SerDes board to get camera input. We need the driver to be installed on our target. Before going ahead make sure the host is connected to the target (SSH) and the target is connected to the Internet.
set up ssh key
- create a keypair
ssh-keygen -t rsa -b 4096 -C 'ganindu@email.com'and save the key as~.ssh/Jetson - Edit the
~/.ssh/configfile
Host Jetson
	# I'm using IPv6, note the double "%" before the interface name
	Hostname fe80::b444:7974:e88:53f1%%enp0s31f6
	# Username for the Jetson board
	User a
	IdentityFile ~/.ssh/Jetson
	StrictHostKeyChecking no
	# Not great practice but this is a dev board
	UserKnownHostsFile /dev/null
Then copy the newly minted ssh public key to the target
ssh-copy-id -i ~/.ssh/Jetson a@fe80::b444:7974:e88:53f1%enp0s31f6
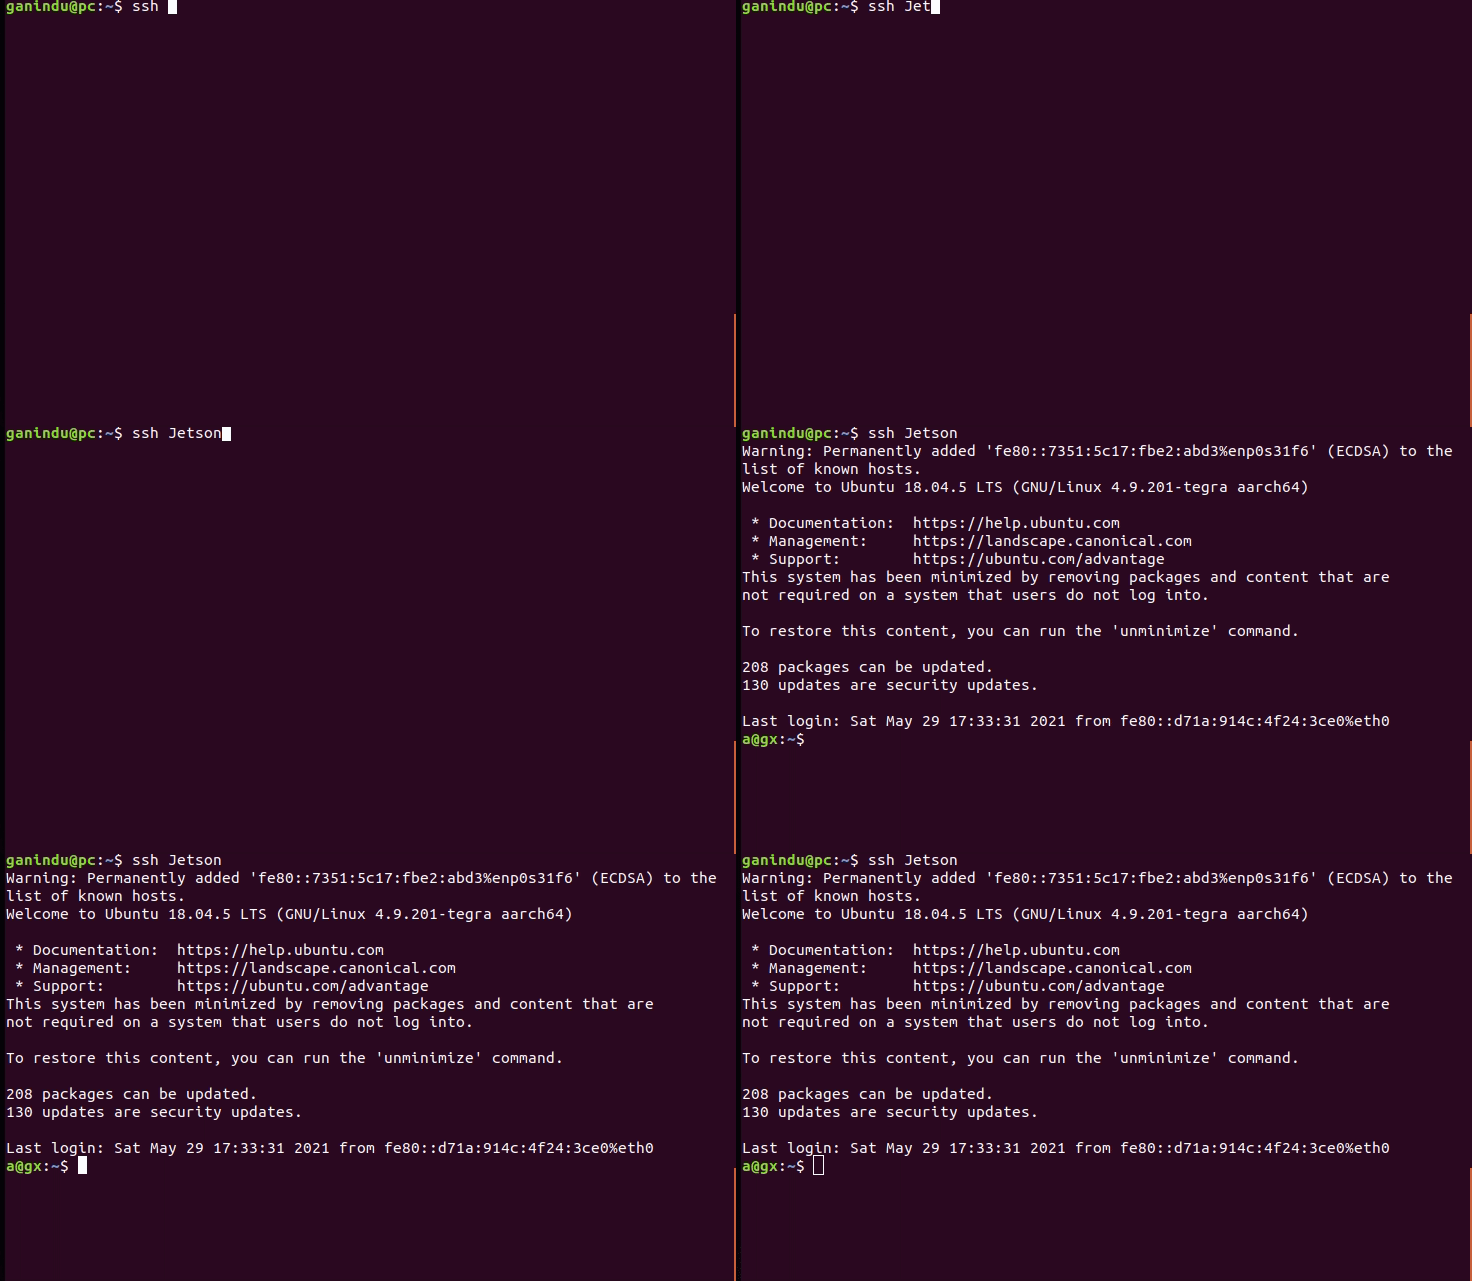
Then you can test this by typing ssh Jetson from the host, this will now drop a shell to the target.

refer to this network topology section fore more about IPv6 setup, This can be done with IPv4 too. In that case you can omit the network interface name e.g. Hostname 192.168.55.1 and the copying is simply ssh-copy-id -i ~/.ssh/Jetson a@192.168.55.1
Also you can try the full name like this as well.
ssh a@fe80::b444:7974:e88:53f1%enp0s31f6 or simply ssh a@Jetson
setting up dependencies
install the following dependencies with the command (on the target)
make sure the target is now connected to internet as shown in the network topology above
sudo apt-get install ack build-essential cmake libexpat1-dev libgstreamer1.0-dev libgtk-3-dev libjpeg-dev libx11-dev mplayer pkg-config silversearcher-ag strace tree vlc
Set up Development Environment
This BSB uses automake configure. The configure script is generated by running the bootstrap script provided.
Move back to the Host
- Clone submodules:
git submodule update --recursive --init. - Generate the
configurescript:./bootstrap. - Run the generated
configurescript with the correct options for your hardware. e.g. For the D3 16 port “2xOcto” camera interface, run:
./configure --with-system-type=xavier --with-dtb='build/deploy/boot/d3-xavier-2xocto.dtb' --with-target-host=Jetson --with-l4t=/home/ganindu/nvidia/nvidia_sdk/JetPack_4.5.1_Linux_JETSON_AGX_XAVIER/Linux_for_Tegra --with-username=a
Check the Table below for the values I’ve used (note: I have used a different username than nvida)
| Option | Value | Meaning |
|---|---|---|
| –with-system-type | Xavier | System type |
| –with-dtb | build/deploy/boot/d3-xavier-2xocto.dtb | goto hardware/d3/Makefile for a list of dtb file names, the files will generate at ./build/kernel/arch/arm64/boot/dts/ during build |
| –with-target-host | Jetson | This is because of the ssh config we made earlier |
| –with-l4t | /home/ganindu/nvidia/nvidia_sdk/JetPack_4.5.1_Linux_JETSON_AGX_XAVIER/Linux_for_Tegra | Linux for Tegra (usually installed by the SDK manager at ~/nvidia/nvidia_sdk) |
| –with-username | a | you may choose your username but you’ll have to change some scripts down the line because at the time of writing the usename is assumed to be nvidia in some scripts which aren’t generated |
Note: If you use a different username there are some scripts that run on the target (located in host scripts/target directory) with the default username nvidia baked in untouched by automake.
install OS support
Run this script only once because it creates a backup of the kernel present at the time. in the second time it may assign your updated kernel as the backup. If that’s a concern you can edit the script to not do that but all you may need is make sync (discussed in context below)
This will
* Update and install dependencies, install helper packages such as "rsync"
* update `/etc/sudoers` temporarily to enable sudo invocations from host.
* turn off screen-lock
* copy helper scripts to ~/@username@/debug
Build the Kernel and install the device tree
Step 0:
Configure the kernel using the make linux-defconfig *this is the D3 default config supported by the D3 mainstream L4T, if you want to use a new L4T('added a non D3 standard L4T') and use D3 features you may have to tweak kernel parameters* either by editing the provided defconfig or using `make linux-menuconfig`.
Other steps:
-
Build Kernel and device tree files:
make -j8for verbose useKBUILD_VERBOSE=1.
you can check the build ID with,make show-config -
make-syncto sync to target and “flash” the kernel.
for instructions on recovery please check the source document.